Region: Western Mountains (California)
Distance: 14–18 miles round trip (depending on trailhead)
Elevation Gain: ~4,800 ft
Difficulty: Extremely strenuous
Time: 10–14 hours
Permit Required: Yes — both for the cables section and for backpacking
Best Season: June–mid-September (when cables are up)
Why It’s Famous: The cable ascent, sweeping views of Yosemite Valley, Nevada Fall, Liberty Cap, and the sheer exposure at the summit that makes it one of America’s most exhilarating hikes.
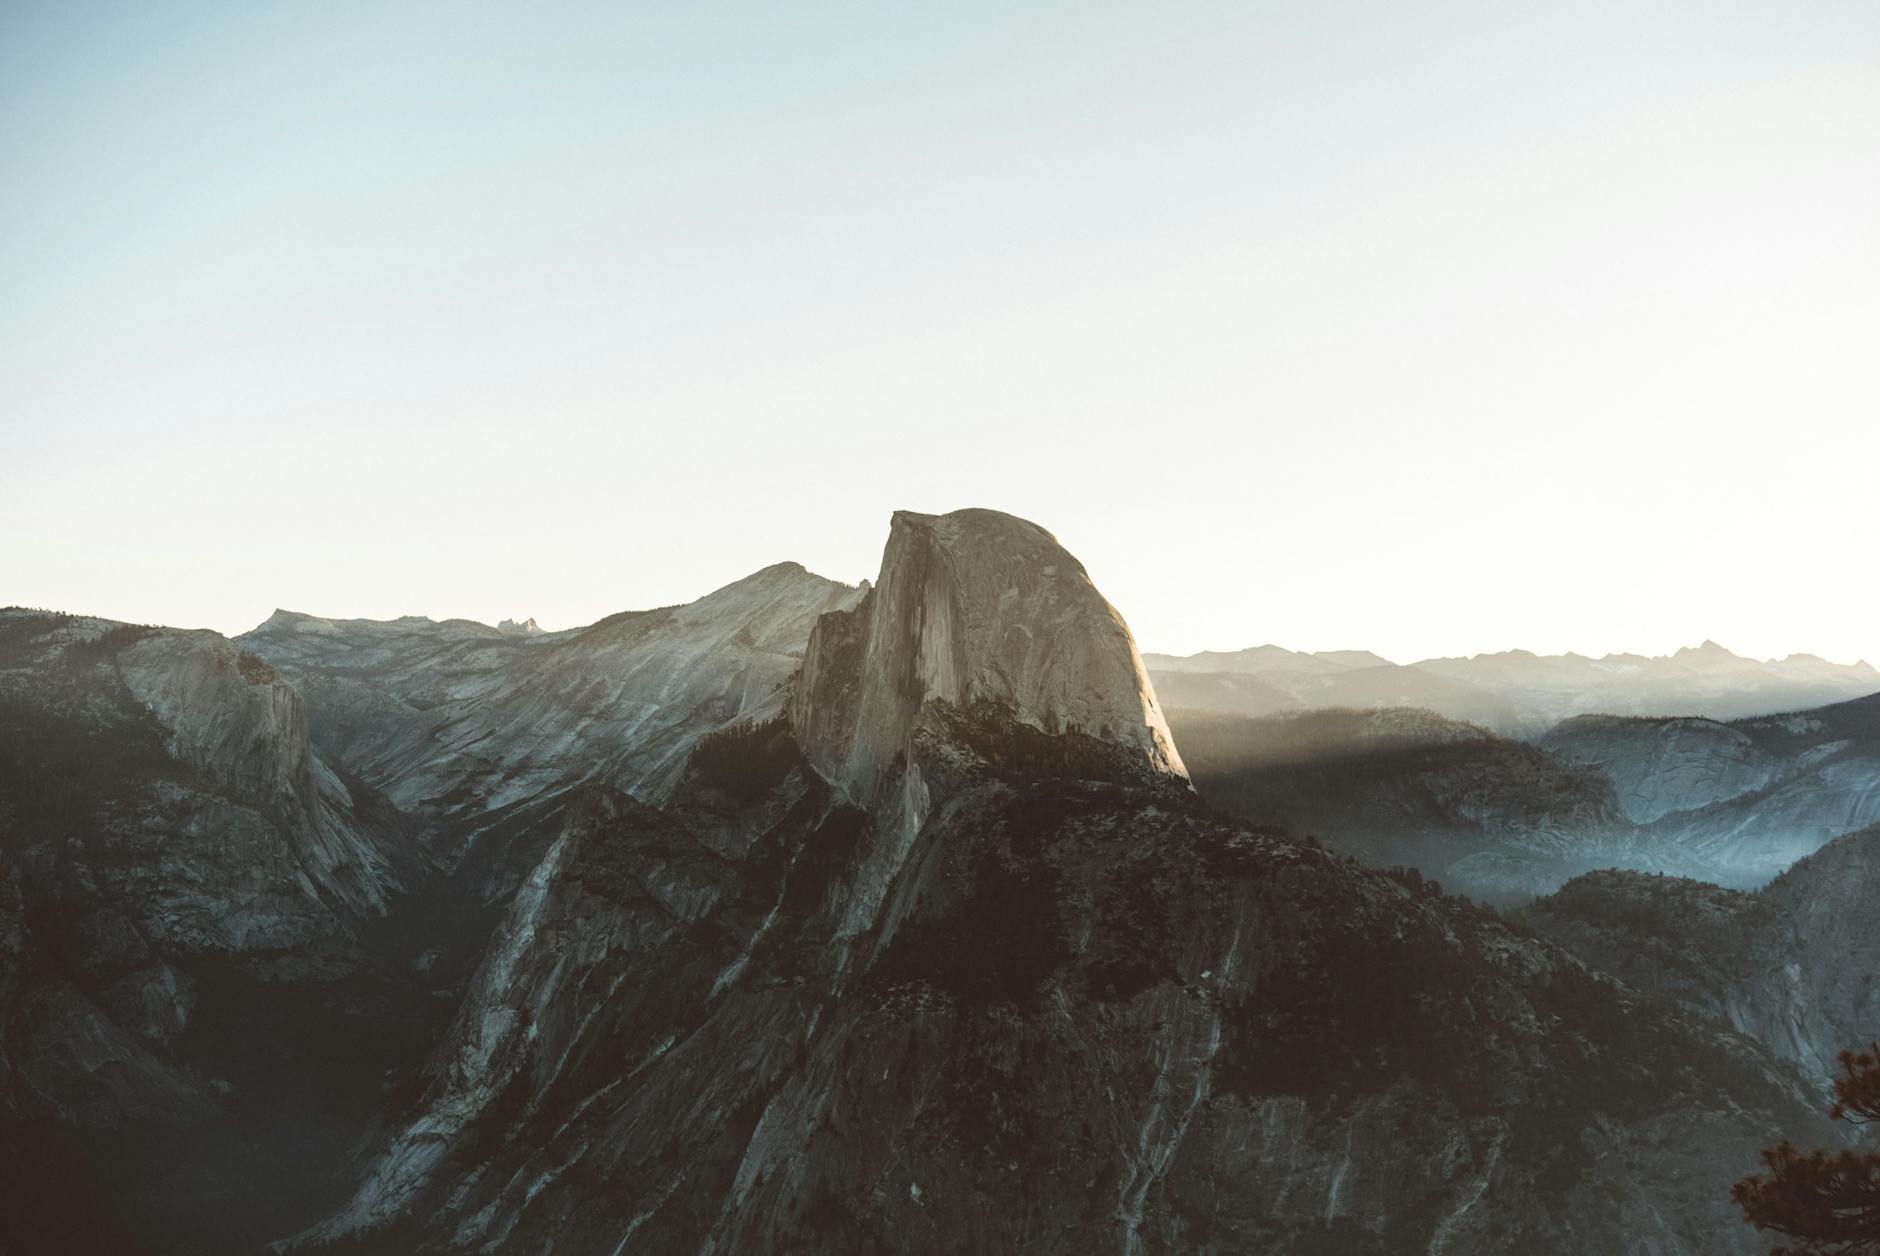
1. Overview — What It’s Like to Hike Half Dome
Hiking Half Dome is equal parts endurance challenge, exposure management, and one-of-a-kind scenery. It’s the crown jewel of Yosemite hikes — and for many, a once-in-a-lifetime summit.
The journey begins in Yosemite Valley before climbing past Vernal Fall, Nevada Fall, and dense pine forests. By the time you reach the Sub Dome, the views explode outward, and the trail becomes steep granite switchbacks cut directly into the rock. The final ascent — the Half Dome Cables — is an open granite slope with 400 vertical feet of exposure on either side, assisted by metal cables and wooden boards.
The summit is massive, surprisingly flat, and gives a 360° panorama over Yosemite Valley, Clouds Rest, El Capitan, Tenaya Canyon, and the High Sierra.
This is one of the hardest day hikes in the national park system — but also one of its greatest rewards.
2. Trail Options — Which Route Should You Choose?
Most hikers use these two main routes:
A) The Mist Trail → Half Dome (14–16 miles RT — classic route)
- Steepest and most scenic
- Passes Vernal and Nevada Falls
- Most popular and iconic
- Gets wet and slick early season
B) John Muir Trail (JMT) → Half Dome (16–18 miles RT)
- Longer but less brutally steep
- Great for knees on the descent
- Beautiful views of Nevada Fall & Liberty Cap
- More gradual incline
Best combo:
Up the Mist Trail, down the JMT — gives you the best waterfalls and the safest descent.
3. A Stage-by-Stage Breakdown (What You’ll Encounter)
This section matches the detail level used in your Tour du Mont Blanc breakdowns — descriptive, logistical, and practical.
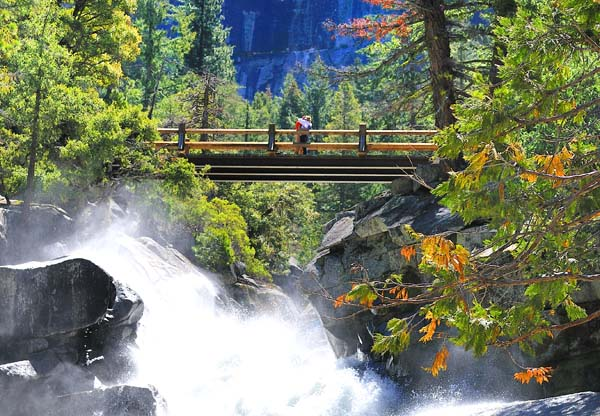
Stage 1: Yosemite Valley → Vernal Fall Footbridge
Distance: ~1 mile
Elevation Gain: ~400 ft
Time: 20–40 minutes
You start at Happy Isles Trailhead and climb immediately on a paved but steep path through thick forest beside the Merced River. This warm-up gets your heart going fast. The Vernal Fall Footbridge is the first water refill station and a natural breaking point. Expect crowds early in the day — this section is shared with all Mist Trail hikers.
Trail markers: Clear signs at every junction; Glacier Point Fire Road junction is well marked.
Highlights: Early sunrise through the trees, first glimpse of Vernal Fall’s mist plume.
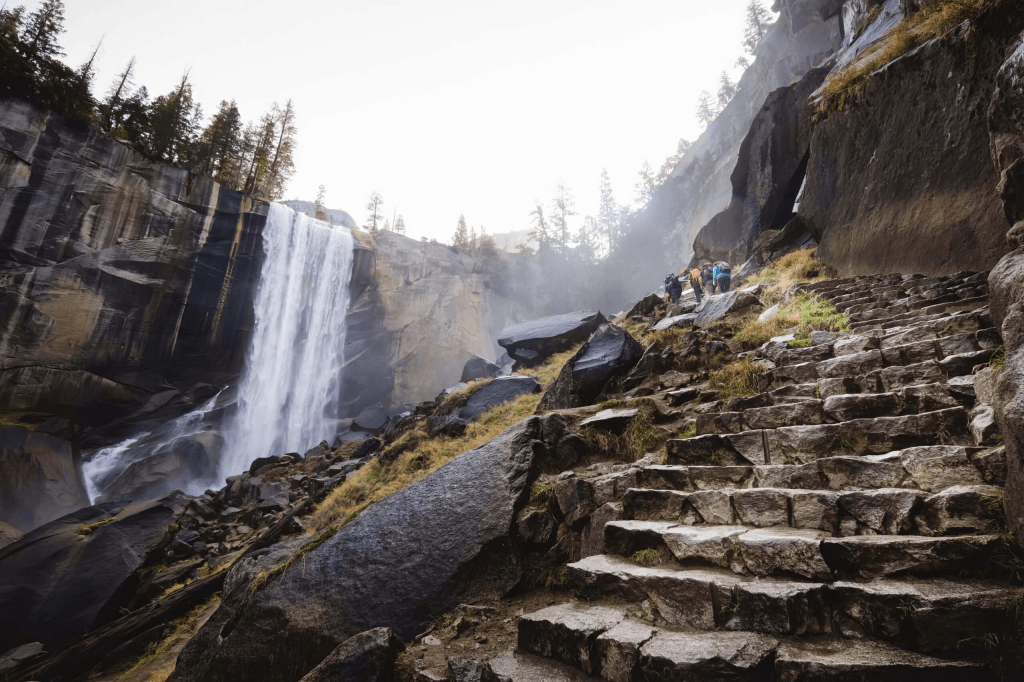
Stage 2: Mist Trail — Vernal Fall Steps
Distance: 0.8 miles
Elevation Gain: ~600 ft
Time: 30–50 minutes
This is where the name Mist Trail becomes real. Granite steps hug the edge of Vernal Fall, and during early summer runoff, the spray drenches the entire staircase. The footing becomes wet, slick, and slow-moving — but the views of the fall crashing beside you are unforgettable.
Trail markers: The railings along the cliff sections guide you; always stay inside the guardrails.
Significant sights: The emerald pool above Vernal Fall, rainbow sprays in early morning light.
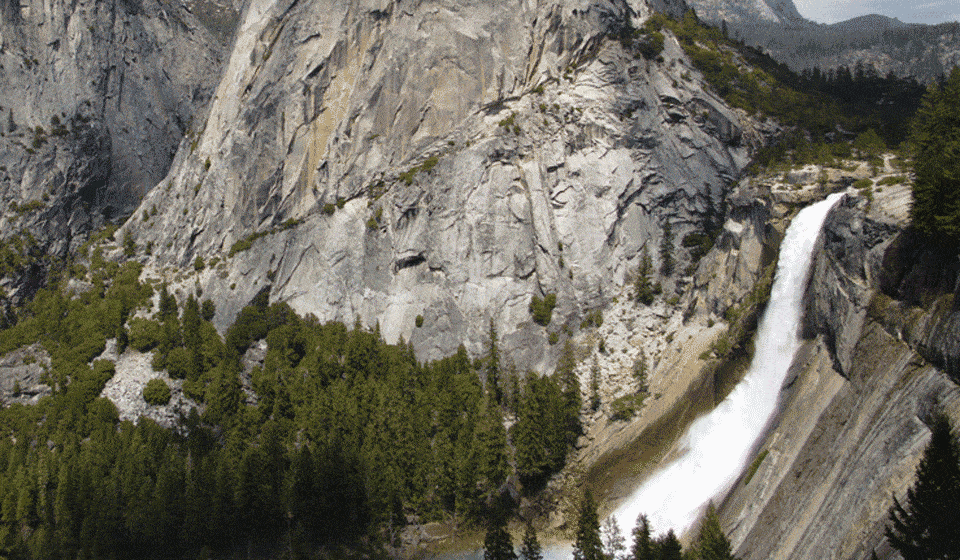
Stage 3: Emerald Pool → Nevada Fall / Liberty Cap Junction
Distance: ~1.5 miles
Elevation Gain: ~1,000 ft
Time: 1–2 hours
The trail climbs through pine forest and then opens dramatically onto granite slabs as you approach Nevada Fall. Liberty Cap — a massive granite dome — towers above you. Switchbacks become long and exposed, with huge valley views.
Trail markers: JMT junction is well signed; stay on the Mist Trail for the steeper ascent.
Significant sights: Nevada Fall plume from below, Liberty Cap looming overhead.
Stage 4: Nevada Fall → Little Yosemite Valley (LYV)
Distance: ~1.5 miles
Elevation Gain: ~600 ft
Time: 45–75 minutes
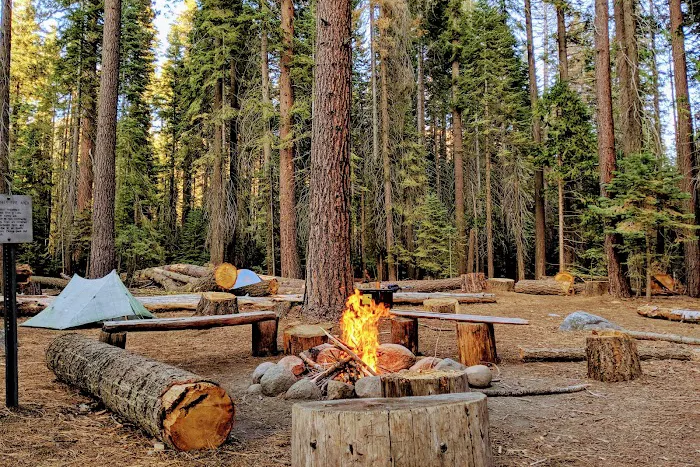
After crossing the bridge above Nevada Fall, the trail enters dense forest and levels out slightly, offering the first real break. Little Yosemite Valley is flat, sandy, pine-filled, and quieter. This is also the backcountry campground area for backpackers.
Trail markers: Signs point toward LYV campground vs. Half Dome route.
Significant sights: Sandy flats, glimpses of the High Sierra, deer encounters possible.
Stage 5: Little Yosemite Valley → Sub Dome
Distance: ~2 miles
Elevation Gain: ~1,400 ft
Time: 1.5–2.5 hours
This section is a grind — long, steep forested switchbacks with few views until you get much higher. You’ll feel the altitude here. As you climb, Half Dome’s shoulder comes into view, giving a taste of what’s ahead.
Trail markers: Occasional metal trail signs; route is straightforward.
Significant sights: First dramatic view of Half Dome’s granite face through the trees.
Stage 6: Sub Dome (Granite Staircase)
Distance: 0.3 miles
Elevation Gain: ~600 ft
Time: 30–45 minutes
This is the most strenuous non-cable section. The trail becomes pure granite, with tight switchbacks carved into the stone. Exposure increases — this is where many hikers decide whether they feel comfortable continuing.
Trail markers: Cairns and rock steps guide the way — no trees or soil here.
Significant sights: The full cable route is now in sight — a dramatic, intimidating preview.

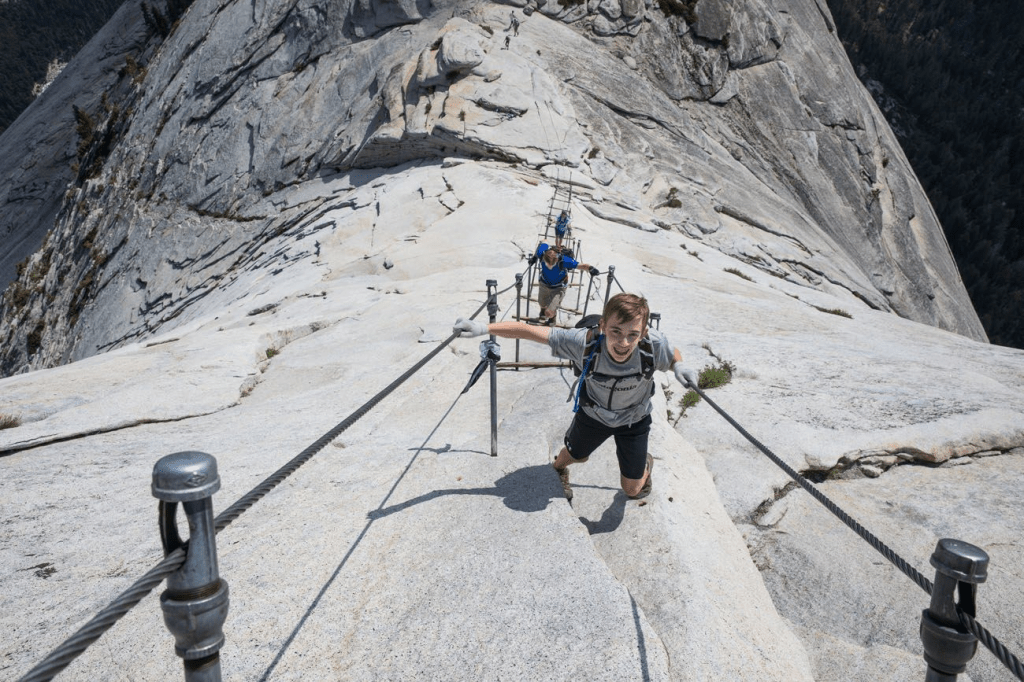
Stage 7: The Half Dome Cables
Distance: 0.5 miles
Elevation Gain: ~400 ft
Time: 20–45 minutes (varies based on crowding)
The iconic finish. Two metal cables run up the dome, supported by metal poles and wooden planks. The climb is steep (45–60° in places) and requires upper body effort and mental focus. Gloves are essential.
Expect bottlenecks: hikers going up and down the same narrow corridor.
Trail markers: The cables themselves are the trail.
Significant sights: Endless views of Yosemite Valley, Clouds Rest, and the sheer 2,000-ft drop on both sides.
Stage 8: Summit of Half Dome
Reward: One of the most surreal views in America.
A giant flat granite mesa stretches in all directions. Wander carefully—cliff edges drop thousands of feet straight down. The summit is large enough to spread out, rest, eat, and take photos without feeling cramped.
4. Permits — Everything You Need to Know
Half Dome requires a permit if you intend to use the cables (almost everyone).
Permit Types
A) Preseason Lottery
- Opens: March 1–31 (HERE)
- Results: Mid-April
- ~225 day-hiker permits available per day
B) Daily Lottery
- Apply: 2 days before your hike (HERE)
- Results: Same evening
- Good for last-minute weather changes
Backpacking + Half Dome
If you backpack from Little Yosemite Valley or Glacier Point, you need BOTH:
- A backcountry wilderness permit
- A Half Dome add-on permit
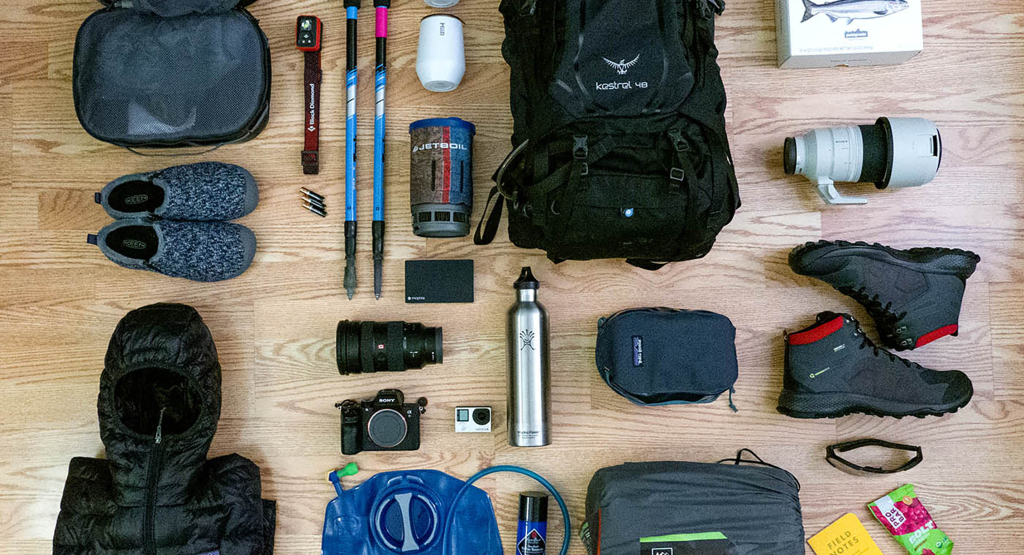
5. Gear — What You Must Bring (And What’s Optional)
Essential Gear
- Gloves with grip (rubber-coated “cable gloves”)
- 3–4 liters of water (refill only at Vernal Fall bridge; treat Merced River if needed)
- Trail runners or boots with grippy soles
- Hat + sunscreen (Sub Dome is fully exposed)
- Headlamp (most hikers start early in the dark)
- Food for 10–14 hours
Strongly Recommended
- Trekking poles (save your knees on descent)
- Lightweight layers (windy at top)
- Water filter
- Patch kit for blisters
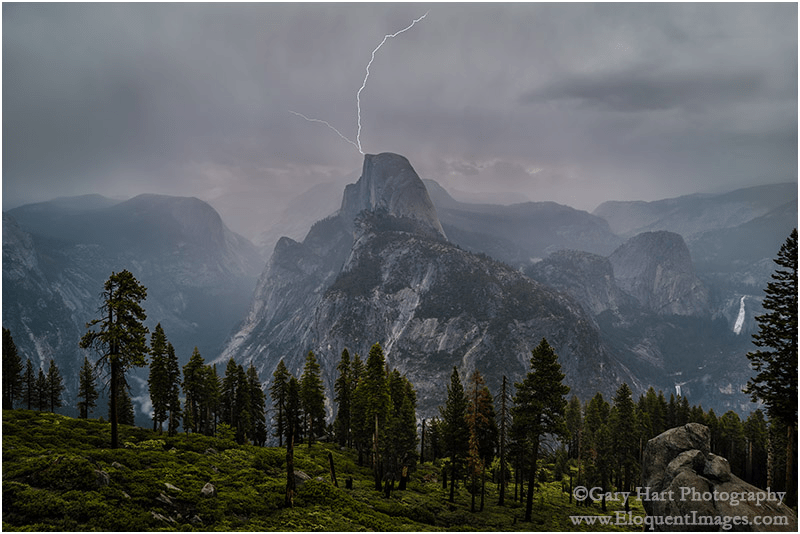
6. Safety — What You Need to Know
Half Dome is safe if conditions are safe and you use caution.
Turn around if:
- Thunderstorms are forecast
- Granite is wet
- You feel dizzy or uncomfortable with exposure
- The crowds make the cables unsafe
Weather window: 6am–12pm is most stable.
7. Where to Stay (Detailed Options)
Inside Yosemite Valley (Best for early start)
1. Curry Village
- Canvas tent cabins + real beds
- Showers, food court, parking
- 8–10 min drive to trailhead
- Best mix of convenience & affordability
2. Yosemite Valley Lodge
- Closest hotel to the trailhead
- Private rooms, dining, shuttle access
- Books out 6–12 months early
3. North Pines / Upper Pines Campgrounds
- Most affordable option
- Requires booking on recreation.gov
- Quiet, gorgeous forest campsites
- Best for those who don’t mind 4am wake-ups
8. Costs — What the Hike Really Costs
| Expense | Typical Cost |
|---|---|
| Entrance fee (per vehicle) | $35 (7 days) |
| Half Dome permit | $10 application + $20 per person |
| Gear (gloves, filter, food) | $15–$100 depending on needs |
| Lodge or campsite | $10–$350/night |
| Shuttle (if staying in Valley) | Free |
| Parking | Free |
Bare-bones budget: $60–$120 total
Typical mid-range: $200–$450
Comfort-focused traveler: $500–$800+
9. When to Hike — Best Months
June–September
This is the only window when the cables are up.
- June: Snow patches possible; waterfalls raging.
- July/August: Best conditions; hottest temps.
- September: Quiet, stable weather, cooler.
- October: Cables may be removed early depending on ice.
10. Tips to Make This Hike Easier
- Start before 5am to beat heat and crowds.
- Bring electrolytes — this is a sweat-heavy climb.
- Wear shoes with serious traction for granite slabs.
- Use the JMT descent if your knees are suffering.
- Take a long break at Little Yosemite Valley to refuel.
- On the cables, stay patient — don’t pass unless safe.
11. Who Should Skip Half Dome?
- Anyone with severe fear of heights
- Anyone uncomfortable on wet/granite slope
- People with knee injuries
- Anyone untrained for 14–18 miles & 4,800 ft gain
12. Final Thoughts — Is Half Dome Worth It?
The Half Dome hike is more than a scenic climb — it’s a rite of passage in the hiking world. The mix of endurance, dramatic terrain, waterfalls, alpine granite, and the final adrenaline-pumping cable ascent make it one of the most unforgettable hikes on Earth.
If you’re prepared, trained, and catch good weather, you’ll remember this summit for the rest of your life.

Leave a comment